
Configuring client browsers for Active Directory authentication
To use Active Directory single sign-on authentication for i2 Explore for iBase, you need to configure client browsers.
Before you begin
You must complete the steps in Configuring Active Directory for i2 Explore for iBase before configuring client browsers.
Configure client browsers
The following steps must be followed to enable a Windows client browser to use Active Directory single sign-on authentication to connect to the Explore for iBase server.
These actions may be possible using Group Policy in an Active Directory environment, ask your system administrator for assistance if required.
If performing the changes per client Windows machine, ensure that you are logged into the client machine on the Active Directory domain using Administrator privileges.
You can link to the configuring client browsers video directly here.
Google Chrome and Microsoft Edge
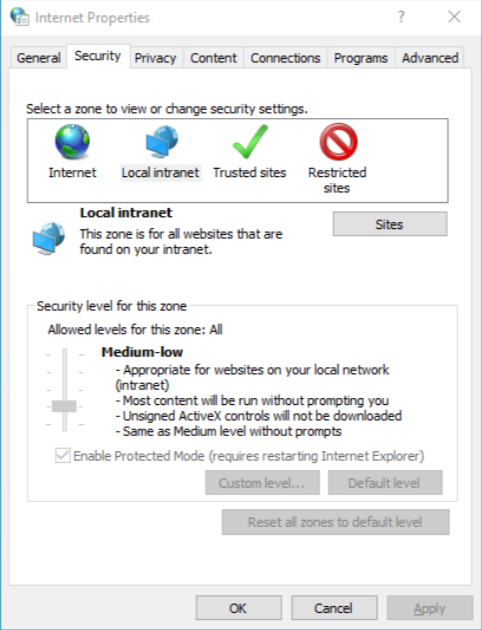
Open the Control Panel and click Internet Options. Click the Security tab.
Select the Local intranet zone and click the Sites button.
In the Local Intranet window, enter the fully qualified domain name (FQDN) of the server where Explore for iBase will be installed and click Add.
The example used, https://i2explore.exampledomain.com, is the same as in Configuring Active Directory for i2 Explore for iBase.
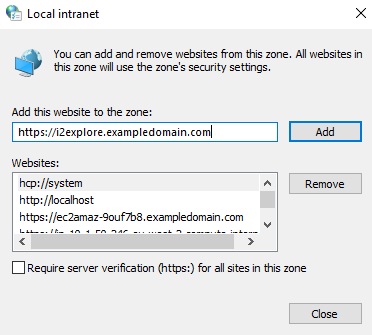
Click Close to close the Local Intranet window, then click OK to close the Internet Options window.
To allow the delegation of credentials, you need to add the server FQDN or Domain to the Windows registry as follows:
The KEY path will depend on whether you are configuring Google Chrome or Microsoft Edge.
Google Chrome
Open the Registry Editor (regedit.exe).
Navigate to HKEY_LOCAL_MACHINE\SOFTWARE\Policies\Google\Chrome, if the Google or Chrome keys do not exist, create them.
If the AuthNegotiateDelegateAllowlist string value does not exist, create it.
Set the value of AuthNegotiateDelegateAllowlist to the server FQDN or Domain in the format: *.yourdomain.com or yourserver.yourdomain.com.
For example: *.exampledomain.com or i2explore.exampledomain.com.
Microsoft Edge
Open the Registry Editor (regedit.exe).
Navigate to HKEY_LOCAL_MACHINE\SOFTWARE\Policies\Microsoft\Edge, if the Microsoft or Edge keys do not exist, create them.
If the AuthNegotiateDelegateAllowlist string value does not exist, create it.
Set the value of AuthNegotiateDelegateAllowlist to the server FQDN or Domain in the format: *.yourdomain.com or yourserver.yourdomain.com.
For example: *.exampledomain.com or i2explore.exampledomain.com.
Mozilla Firefox
In the Firefox address field, type about:config.
In the search box, type network.n.
Edit both the network.negotiate-auth.trusted-uris preference and network.negotiate-auth.delegation-uris preference and set the value to the domain or fully qualified domain name (FQDN) of the server where Explore for iBase is installed.
For example: i2explore.exampledomain.com or .exampledomain.com.

Restart Firefox to activate this configuration.