Creating a standalone license
To create a standalone license for an installation of Analyst's Notebook 10 on a workstation that isn't connected to the internet, use the i2 Entitlement Management System (EMS) portal. You must provide the portal with a locking code from the unconnected workstation.
Note: An Analyst's Notebook user can retrieve the necessary locking code by following the instructions for activation with a license file.
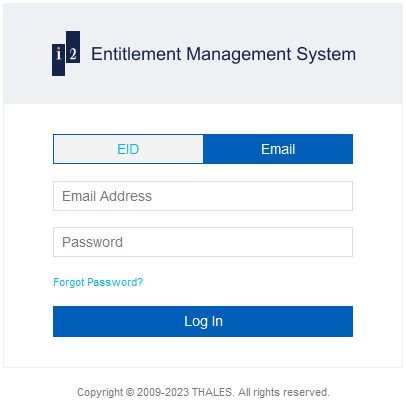
On a workstation that has an internet connection, navigate to the i2 EMS portal. You'll see a login page that's similar to this one:

Log in using the email address that's associated with your purchase of i2 software.
Note: If you haven't logged in before, you won't have a password. Click the Forgot Password? link and follow the steps to get a new, temporary one.
When you log in successfully, the portal displays information about your entitlement, including the products that it covers and the number of times you can activate each product.
Click the Activate button that corresponds to Analyst's Notebook 10.
The portal prompts you for the variant (that is, the type of license) that you want to activate, and the number of activations you want to do.
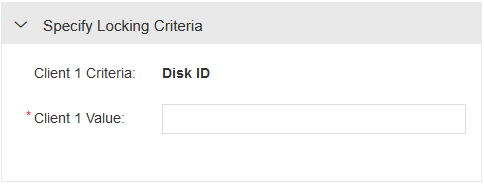
Select the Standalone variant. The number of activations is automatically set to one, and the portal now prompts for the locking code that Analyst's Notebook displayed, like this:

Paste the locking code into the empty field and click Complete Activation.
The portal displays the license file that you just generated, together with options to send it by email or save it to local storage.
Provide the the license file to the user who supplied the locking code so that they can activate their software.
If you ever need to revoke or otherwise modify an activation that you performed through this procedure, contact i2 for assistance.
