Using the tile server with your i2 product
You can use the tile server with your i2 product, such as i2 Analyst's Notebook, i2 Analysis Studio, or i2 Analysis Hub.
i2 Analyst's Notebook
i2 Analyst's Notebook uses the configuration specified in C:\ProgramData\i2\Overwatch\GeospatialConfiguration.json
By default this contains a mapConfig that defines a basemap at http://localhost:8080/hot/, (the defaults used in the preconfigured WSL image).
  "baseMaps": [
   {
    "attribution": "",
    "displayName": "Local Tile Server",
    "id": "LocalTileServer",
    "url": "http://localhost:8080/hot/{z}/{x}/{y}.png",
    "minZoom": 4,
    "maxZoom": 10
   }
],Note: The coordinate order of the {z}/{x}/{y} parameters in the URL differs from other map providers such as Esri.
If your tile server is configured with a different URL, then update the configuration of the basemap, save the file and restart i2 Analyst's Notebook.
i2 Analysis Studio or i2 Analysis Hub
i2 Analyze is the application server for both i2 Analysis Studio and i2 Analysis Hub.
To configure use of the tile server, update your i2 Analyze configuration using the following steps:
Add a new entry to the baseMaps object in the geospatial-configuration.json file replacing your.server.ip.address with the correct IP address of your tile server:
{
    "id": "OpenStreetMaps",
    "displayName": "Open Street Maps (Local Tileserver)",
    "url": "http://your.server.ip.address/hot/{z}/{x}/{y}.png",
    "attribution": "Sources: © OpenStreetMap contributors"
}Note: The coordinate order of the {z}/{x}/{y} parameters in the URL differs from other map providers such as Esri.
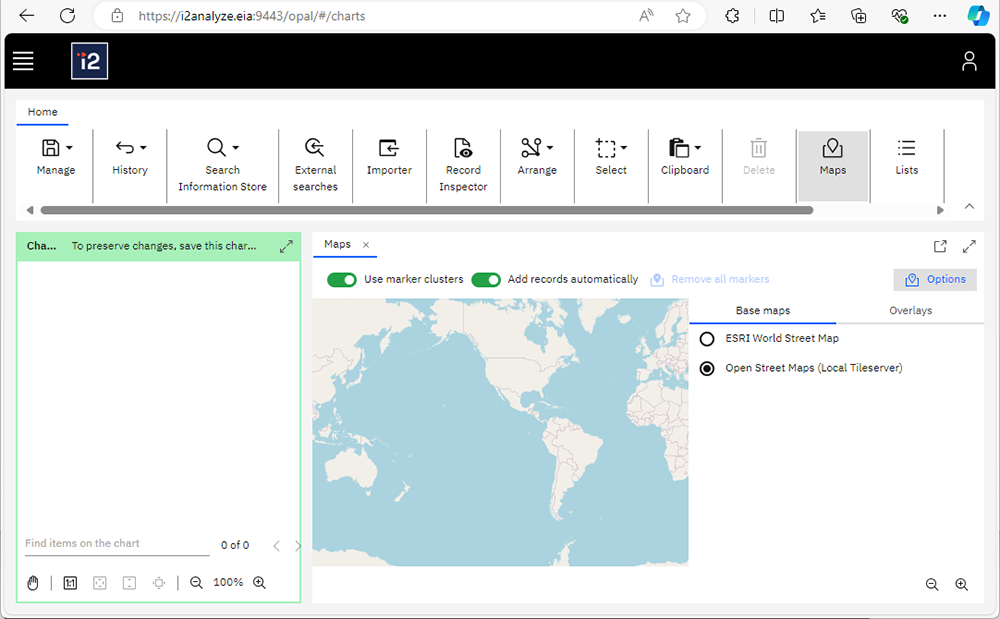
Open i2 Analyst's Notebook and login to your i2 Analyze server.
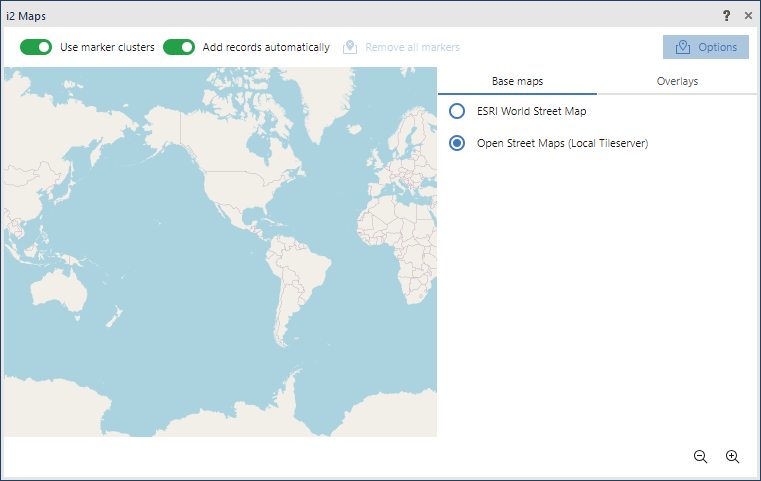
Open i2 Maps, click the Options button, and then select Open Street Maps (Local Tileserver) on the Base maps tab.
Similarly set the Options in the web client: