
Installing i2 TextChart
This topic describes how to install and activate i2 TextChart.
Before you begin
Important: If you are upgrading from an earlier version of i2 TextChart, follow the instructions in Upgrading i2 TextChart before you complete the procedure below.
Prerequisite software
The release notes contain a full list of the required software for i2 TextChart. You must install i2 Analyst's Notebook before you install i2 TextChart.
Optional configuration
i2 TextChart is supplied with an embedded database for local workspace storage. Optionally, you can replace the embedded database with Microsoft SQL Server 2014 or later.
Procedure
The following steps describe how to install i2 TextChart.
Extract the product files from your downloaded distribution.
Using Windows Explorer, browse to the root of the distribution and run the i2 TextChart Installer. Its name will contain the word "Standard" or "Premium", depending on which edition of i2 TextChart you're installing.
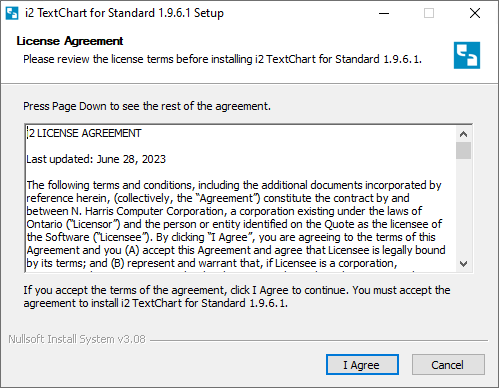
Follow the prompts. You must accept the license agreement to proceed. Click I Agree:
Choose the installation location and click Install:

If you're installing the standard edition of i2 TextChart, the installer displays an extra question:

If your workflow involves connecting to an i2 Analyze server from Analyst's Notebook, click Yes. Otherwise, click No.
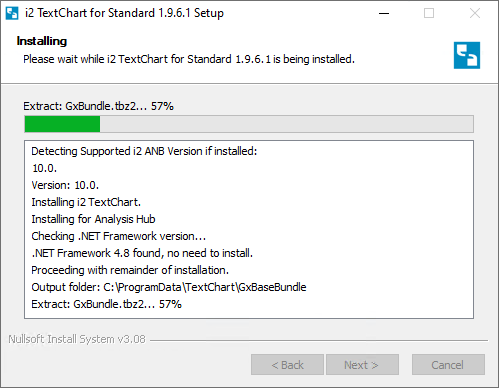
When the installer is complete, click Next.
When setup is complete, leave the Configure TextChart checkbox selected, and click Finish.

Installing i2 TextChart Silently
The following steps describe how to install i2 TextChart silently:
Extract the product files from your downloaded distribution.
Using Windows Command Line Terminal, navigate to the root of the distribution and run the i2 TextChart Installer by issuing following command. Its name will contain the word "Standard" or "Premium", depending on which edition of i2 TextChart you're installing. please note that Analyst's notebook is closed while installing the TextChart Text Analytics.
"i2 TextChart Standard-X.X.X.X-Installer.exe" /S
Note: If you ever need to uninstall i2 TextChart Text Analytics silently, you can do so by issuing following command, note that Analyst's Notebook is closed while uninstalling the TextChart Text Analytics.
Uninstall.exe /S
Uninstall.exe should be available in installation directory, C:\Program Files\TextChart for example.
What to do next
Before you launch i2 TextChart for the first time, refer to Configuring i2 TextChart for proper configuration.
When i2 TextChart is successfully installed, activated, and configured, the plug-in launches automatically when you open i2 Analyst's Notebook.
Note: If you ever need to stop i2 TextChart Text Analytics, you can do so through the Service Manager, which is available from the i2 TextChart menu in the Analyst's Notebook ribbon. To restart i2 TextChart Text Analytics, you must then restart Analyst's Notebook.